READMEs for Open Science
Earlier today, I gave a talk for the the Open Life Science Program about READMEs. I was talking about how READMEs serve as the first point of contact for a project; how they get new users interested in and excited about the project.
The cohort calls are recorded, and I’ll add a link to the video. In the meantime, you can download my slides as a PDF or read my (loosely edited) notes below.
This is my second talk for OLS – last year I talked about how inclusion can’t be an afterthought.
References and links
References for stuff I mentioned:
- A thread about the origin of READMEs, with an example from 1974.
- Daniel Beck’s README checklist, which is what I usually use
-
Examples of READMEs I showed in screenshots:
Slides and notes
Title slide.
I’m going to talk about what a README file is, why it’s important for your project, and what sort of information it should contain.

Photo by Thomas Farnetti, Wellcome Collection. Used under CC BY 4.0.
I work at Wellcome Collection, a museum and library that explores the intersection of health and human experience. If you don’t know it, a museum and library is a place you’d visit to see objects and books in The Before Times.
I work in the digital engagement team, and part of our remit includes sharing what we’ve been doing. We have a generous budget and we do interesting things, so all our work is open source – anybody can read our code and see what we’re doing.

Photo by myrfa on Pixabay. Used under CC0.
But being thrown into a new repository of code is pretty hard!
There could be hundreds or thousands of files, and if you don’t know where to start it’s pretty hard to wrap your head around it all. How does it fit together? Where should you start? What’s the point of this project?
All tricky questions to answer in a new project: the README helps get you started.
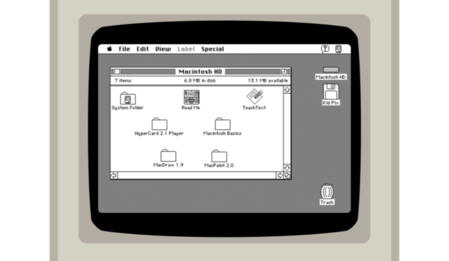
Screenshot from James Friend’s Mac Plus emulator.
The “Read Me” as a concept has been around for a long time – this is a screenshot from System 7, but there are examples as far back as 1974.
The idea is that it’s the first file you’d read, to get you started.
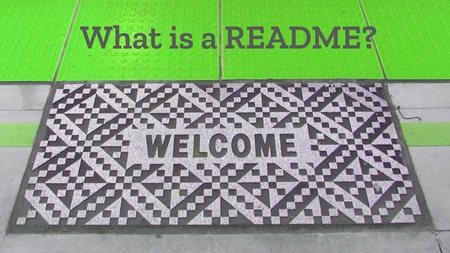
Photo: Welcome mat at Tukila Station, by SonderBruce on Flickr. Used under CC BY‑SA 2.0.
A previous OLS speaker likened a README to a welcome mat, and I like that analogy.
It’s meant to introduce you to a project, to get you started. It’s the first thing you’d encounter as a new user to a project.
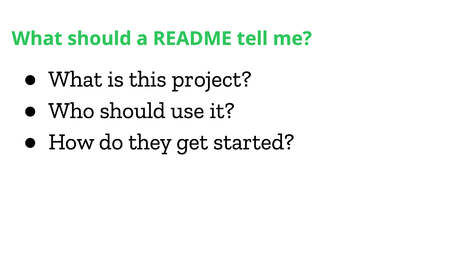
There are lots of checklists and templates for READMEs, which you can find using Google. Personally I use Daniel Beck’s checklist, but there are plenty of others. Find one that you like.
In broad strokes, a README has to answer three questions:
-
What is this project? What’s it about, why does it exist, what problem does it solve?
You want to explain why your project is useful, and why somebody might want to use it. You want to tell them if they should spend more time learning about your project, or if they should look elsewhere.
-
Who should use it? Who’s the target audience?
And conversely: who’s not the target audience? Projects don’t have to be for everyone, and if you can be super clear about your purpose upfront, you help people who aren’t your audience as well – they can work that out quickly, and look elsewhere.
-
How do they get started?
If this does solve their problem and they’re in the target audience, how does somebody start using your project? This includes things like installing your code, some examples or instructions, and how to tell they’ve installed it correctly.
The README is a springboard to the rest of your project. It shouldn’t be your only documentation, but it should help people get started and decide if they want to spend more time with your project.
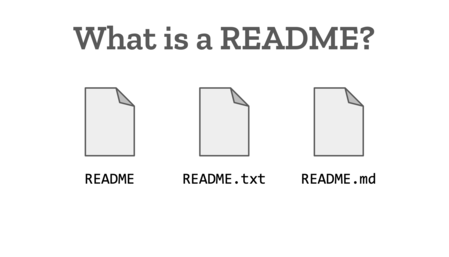
Typically a README file is named something like README, README.txt or README.md. It lives in the root of your repository.
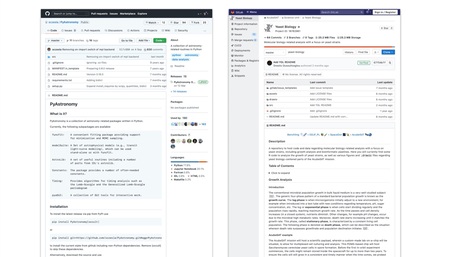
The landing page of PyAstronomy (GitHub, left) and Yeast Biology (GitLab, right).
Historically the README was the first file you’d read; today it’s the first thing you’ll see.
Code sharing sites like GitHub and GitLab make the README very prominent on project pages.

So again, three questions that should be answered by a README: what is the project? Who should use it? How do they get started?
You can look at checklists and templates, but I find the best way to know how to write a README is to look at examples. What do similar projects write? What’s helpful for me? What do I miss in READMEs that don’t have it?
With that in mind, let’s look at a few examples.
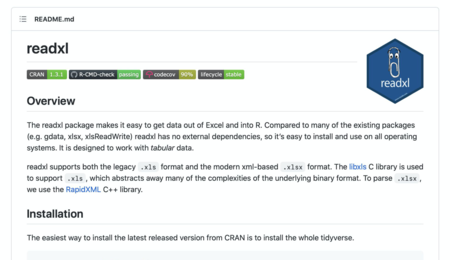
Let’s start with the README for the readxl package. It opens with a clear description of the project:
The readxl package make it easy to get data out of Excel and into R.
There are a few more sentences of explanation, but this first sentence alone is great. You can quickly decide if this is a problem you need to solve, or if this project isn’t for you.
We already know what problem it solves, and who the target audience is. If we read on, what’s next?
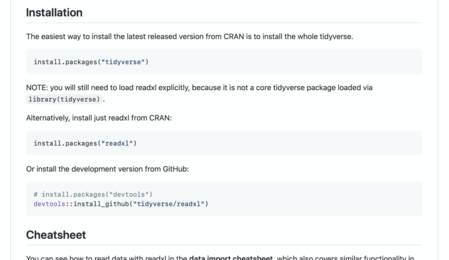
Then we have a section on installation, which describes a few different ways to install readxl.
Notice that it assumes a level of familiarity with R – for example, it tells us to run install.packages("tidyverse"), and it trusts we’ll know how to run that. A README doesn’t have to explain everything from scratch.
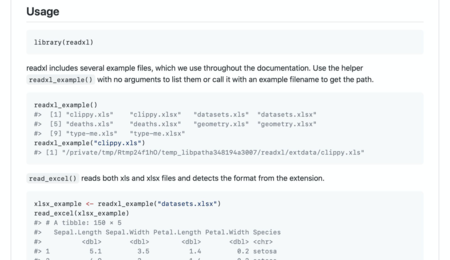
Finally, the usage section, with some runnable examples.
I love seeing examples in a README: it’s a great way to get a sense of how a package works without installing it – and then when it is installed, I can run the examples to check it’s working correctly.
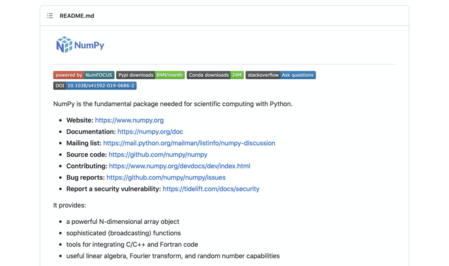
Let’s look at a second example: numpy.
This is a pretty popular package (the badges tell us 100M+ downloads a month), so there are lots of people who already know what it does – and the README takes a slightly different approach. There’s a one-line description, then a list of links to other documents we might find useful – the mailing list, bug tracker, documentation, and so on.
The more detailed description doesn’t come until further down.
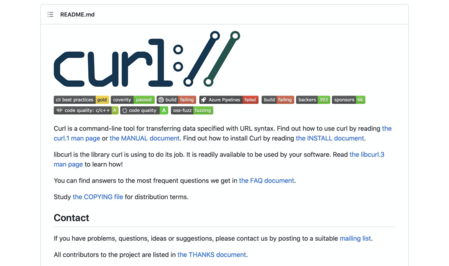
Finally, the README for curl.
Again, lots of links to other pages, assuming you probably already know what curl does. I find the description a bit dry, and I wouldn’t mind having a couple of examples here, for the people who haven’t yet encountered curl.

To repeat the three questions that should be answered by a README. What is the project? Who should use it? How do they get started?
Look at READMEs you like and find useful, and try to copy their style.

Photo: Welcome mat at Tukila Station, by SonderBruce on Flickr. Used under CC BY‑SA 2.0.
Remember: a README is an introduction to your project. It’s the first file a new user will read, and it helps them to decide whether to spend more time learning about your project.
You can have amazing ideas, do brilliant work, publish it for the world to read – but if nobody knows what your project does, or why it’s interesting, it’s not very helpful. A README helps other people get engaged in your project, which is what you need to start spreading your ideas.
Wrap up slide.